News & Blog
Read all about Vernon Real Estate!
VP3 Real Estate Blog

6 Easy Garden DIYs You Will Want To Try
Making your backyard an inviting space is fun, and there are a ton of easy garden ...
Read More
5 Ideas On How To Remodel Your Kitchen
If you’re looking to increase the value of your home and bring it up to date ...
Read More
The 4 Types of Real Estate Investments and How They Differ
As a new real estate investor, you’re going to have to purchase property eventually. Which type ...
Read More
4 Tips On How To Keep Your Home Mess-Free
In an ideal world, homes would stay clean and free of clutter. In the real world, ...
Read More
5 Things Every Real Estate Investor Should Know
To be a good real estate investor, you have to be willing to do your research. ...
Read More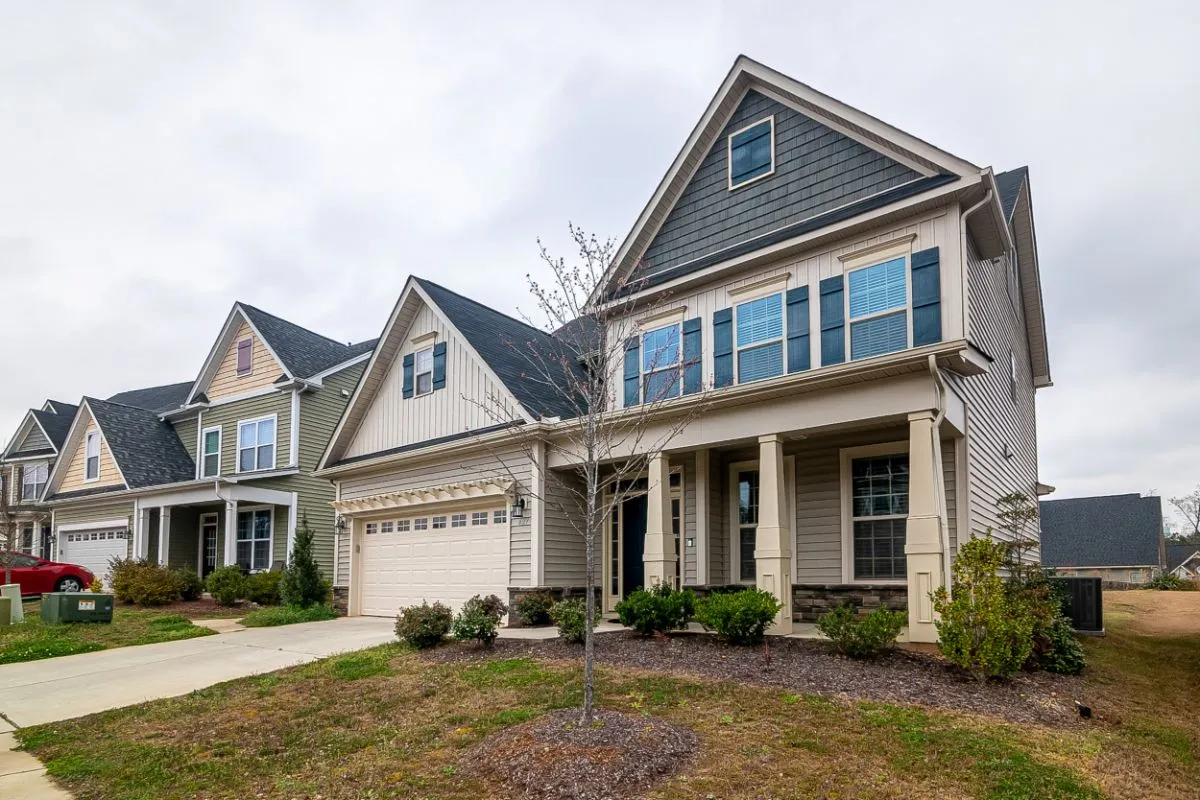
5 Tips to Help You Be the Perfect Home Seller
You may think your home is the only thing that has to impress when you put ...
Read More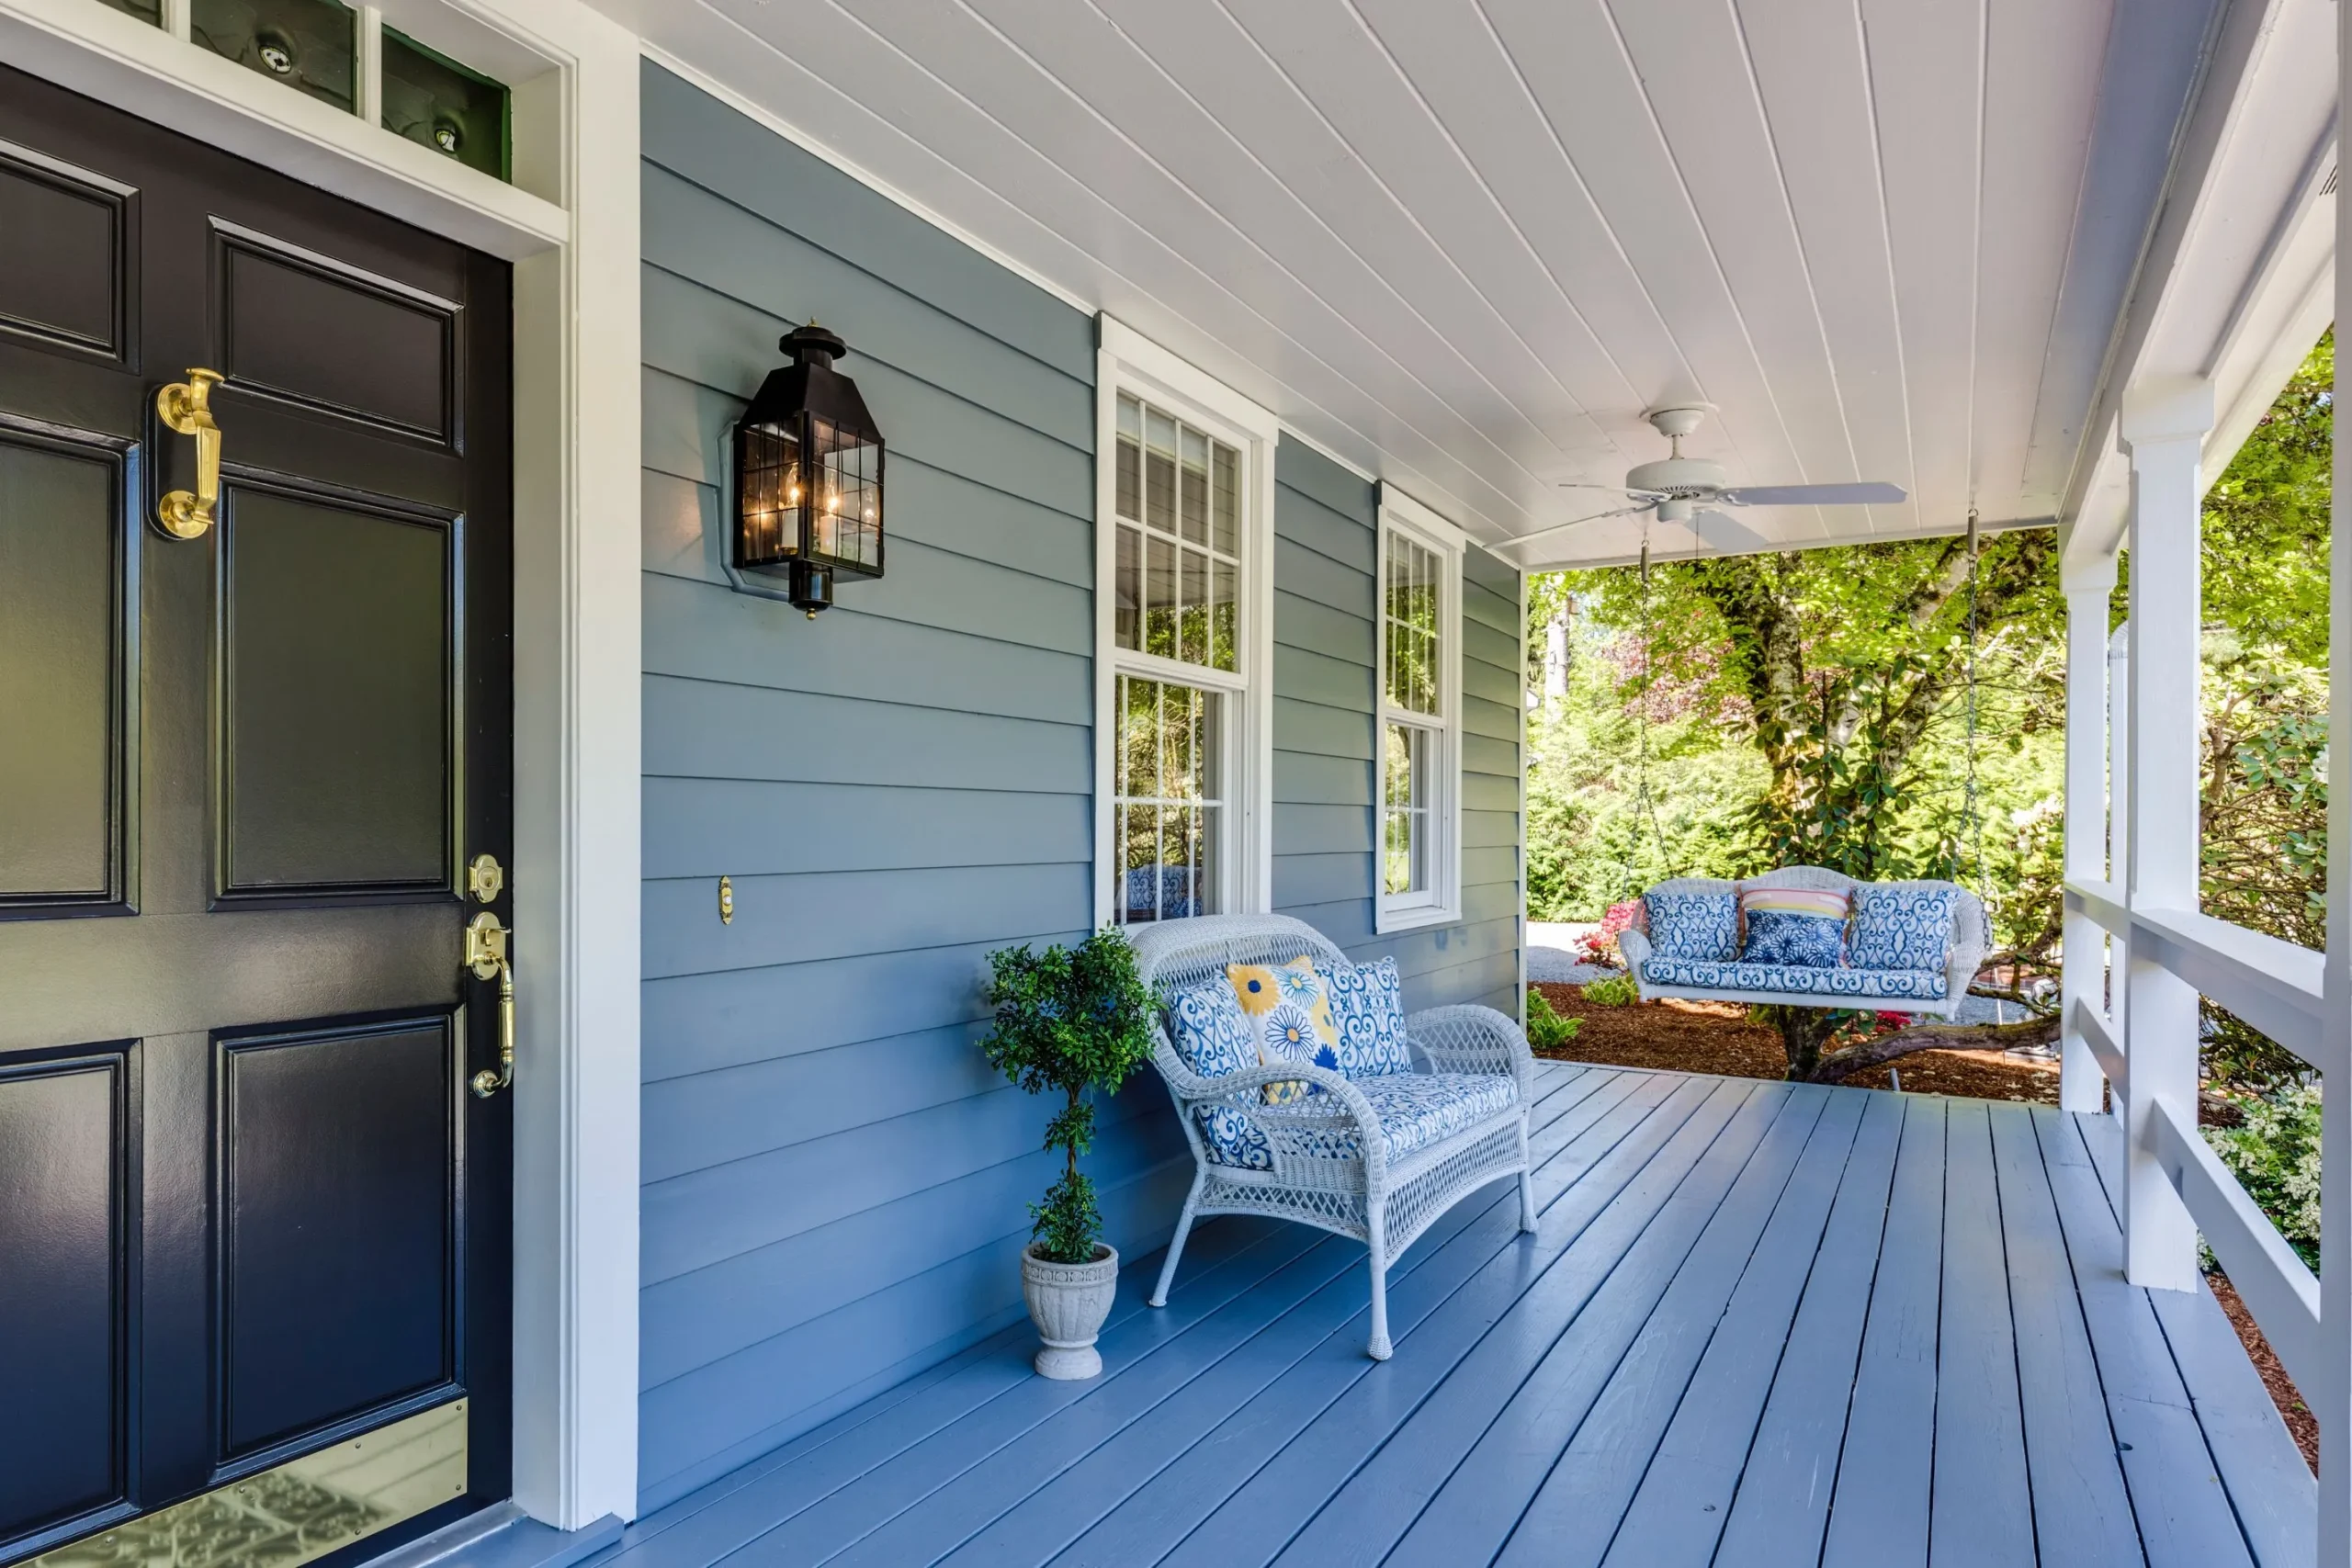
5 Creative Ideas For Your Backyard Fence
Do you hate the way your neighbor’s unkempt lawn and hoards of broken toys takes away ...
Read More
5 Ways To Prepare For The Ultimate Staycation
There’s a lot to be said for traveling vacations. Falling asleep on a plane only to ...
Read More
5 Factors that Make your Home Worth More
Whether you’re selling your home or buying one, you should know what things to look for ...
Read More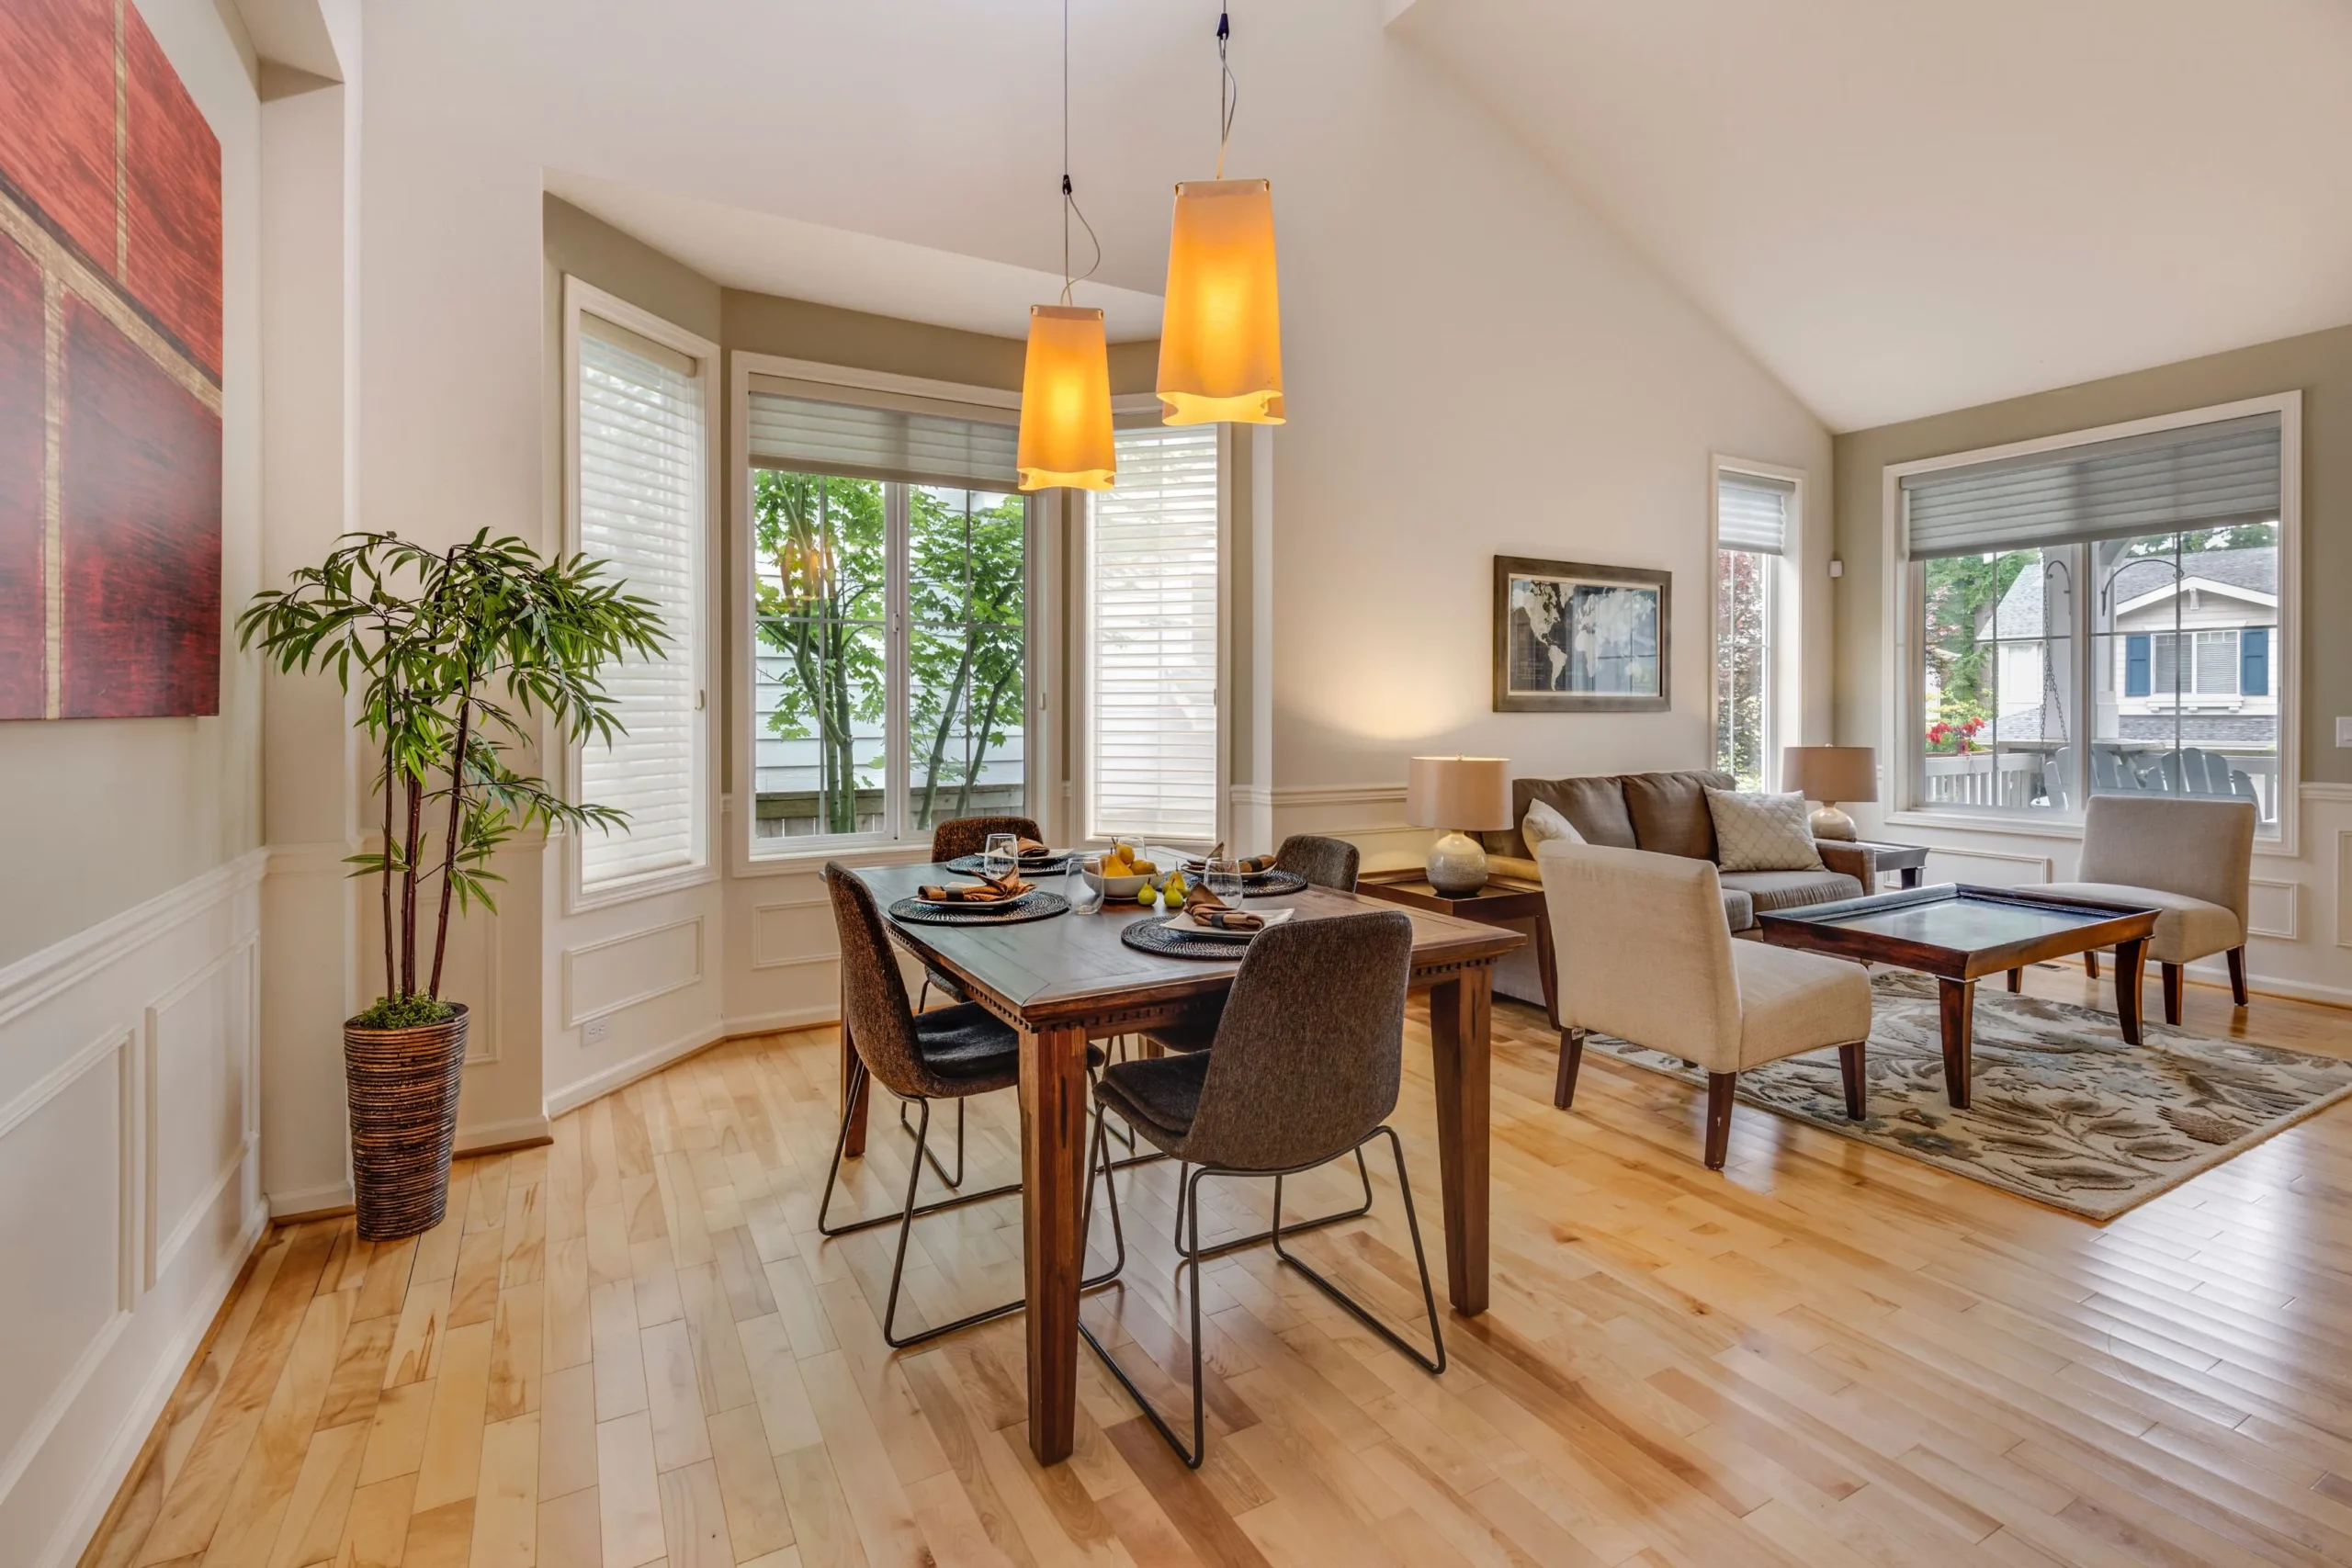
5 Tips For A First Time Home Buyer
Buying a home is quite possibly the biggest purchase you will ever make. If you’re a ...
Read More